


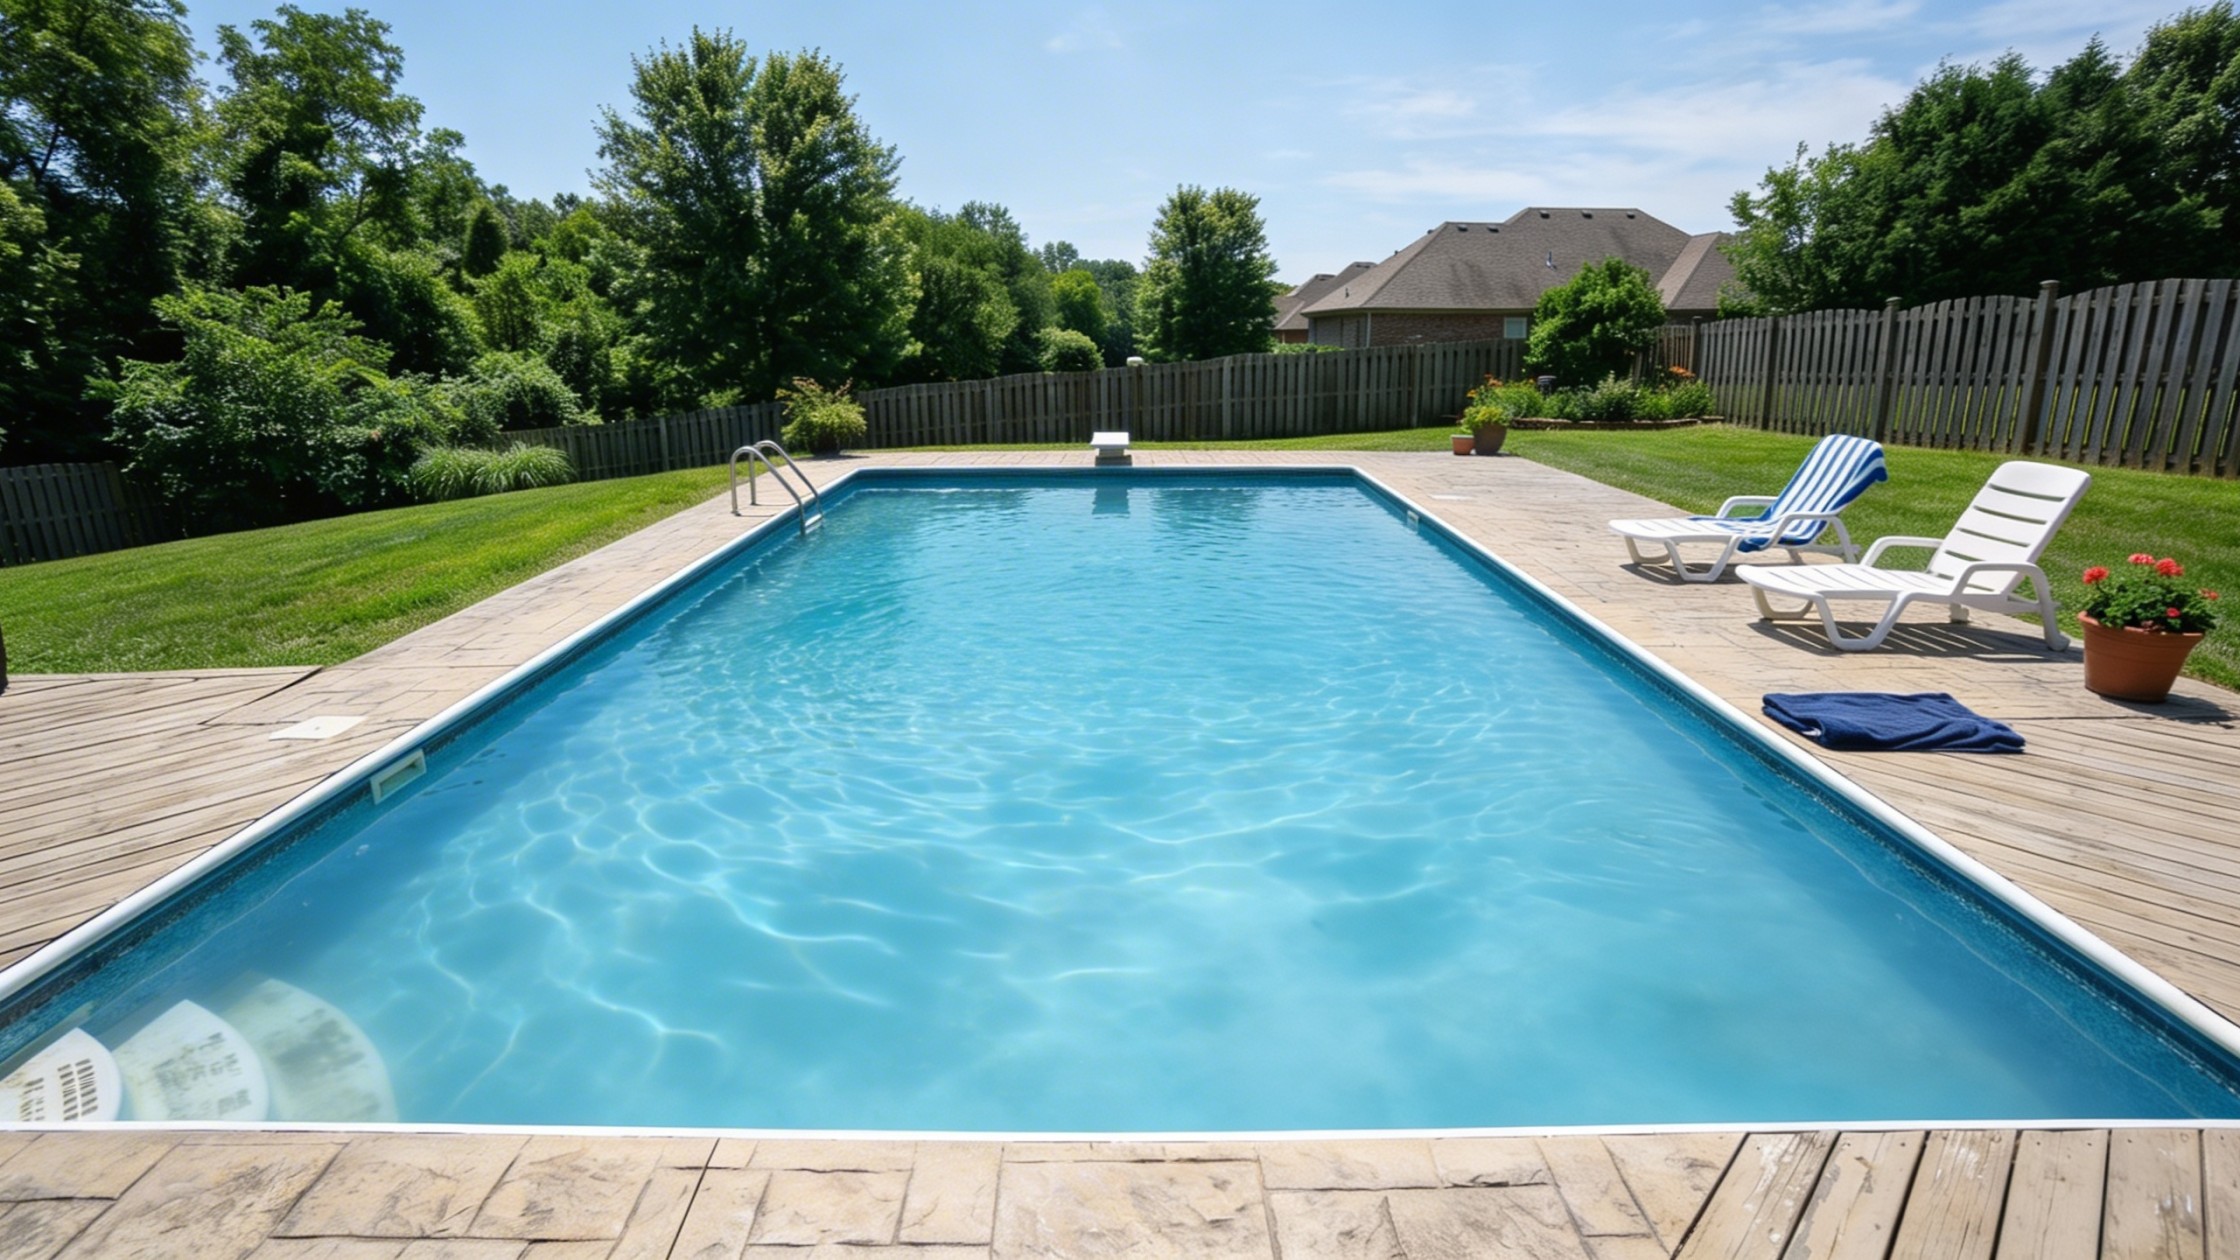
Unexplained water loss can be incredibly frustrating for pool owners. While large ruptures are obvious, micro-leaks in plumbing lines often go unnoticed, silently draining resources and inflating utility bills. These minuscule fractures can occur due to ground movement, temperature fluctuations, or standard wear and tear. Detecting them requires patience, but ignoring them is not an option. This guide will walk you through the precise steps to identify hidden vulnerabilities in your circulation system and implement effective repairs, ensuring your setup remains efficient and watertight for years to come.
Understanding the Impact of Unseen Water Loss
When a circulation system sustains a microscopic fracture, the immediate consequences might not seem severe. A drop here and there does not sound alarming. However, over the course of an entire swimming season, those constant drips can equate to thousands of gallons of wasted water. This continuous loss forces you to frequently replenish the system, which in turn dilutes your chemical balance. Constantly adding fresh water means you must continuously add salt, chlorine, stabilizers, and other necessary treatments to maintain a safe swimming environment.
Beyond the chemical and water costs, the structural implications are significant. Water escaping from subterranean pipes can slowly erode the soil supporting the surrounding deck or the basin itself. This erosion can lead to cracking, settling, and catastrophic structural failures that cost thousands to remediate. Furthermore, if the breach is located on the suction side of your equipment, your pump may draw in air, reducing its efficiency and potentially causing it to overheat and fail prematurely.
Recognizing the Early Warning Signs of Plumbing Leaks
Catching a problem early is the most effective way to minimize damage and expense. While a dropping water level is the most obvious indicator, evaporation can often mask the true rate of loss. Therefore, it is essential to look for secondary symptoms. Pay close attention to the landscaping surrounding the equipment pad and the subterranean pipe routes. Unexplained patches of lush, rapidly growing grass or perpetually muddy areas in an otherwise dry yard are strong indicators of escaping moisture.
Inside the system, observe the pump basket through its clear lid. If you see a continuous stream of air bubbles while the system is running, air is entering the suction lines through a fracture. You might also notice a drop in pressure on the filter gauge, indicating reduced flow. Managing these issues is much easier when your daily maintenance is streamlined. By utilizing an automated device like a smart robotic pool cleaner to handle the tedious task of removing debris from the floor and walls, you free up your time to closely monitor the system for these subtle warning signs and address them before they escalate.
Step-by-Step Diagnostic Procedures for Pool Plumbing
Once you suspect a breach, you must isolate its location. The diagnostic phase is critical, as repairing the wrong section of pipe is a waste of time and resources.
Conducting the Bucket Test for Evaporation Baseline
Before tearing into the plumbing, you must confirm that the water loss is actually due to a structural failure and not simply excessive evaporation. Fill a large plastic bucket with water and place it on the second step of your stairs, ensuring the rim is above the surface. Mark the water level on the inside of the bucket and the current water level on the outside of the bucket. Turn off the circulation system and wait twenty-four hours. If the outside water level has dropped significantly more than the inside water level, you have confirmed an active breach in the system.
Performing the Dye Test Near Fittings and Returns
If the bucket test confirms a problem, the next step is a visual inspection using specialized leak detection dye. This method is highly effective for identifying issues around the skimmer housing, return jets, and main drains. Turn off all equipment so the water is completely still. Slowly dispense a small amount of the heavy dye near any suspected areas. If there is a breach, the current created by the escaping water will actively draw the dye into the crack. Watch the dye closely; its movement will pinpoint the exact location of the fracture.
Utilizing Pressure Testing for Underground Lines
When surface inspections and dye tests fail to locate the issue, the problem likely lies within the subterranean piping. Pressure testing is a definitive method for isolating these hidden vulnerabilities. This process involves plugging both ends of a specific plumbing run, such as the line from the skimmer to the pump, and injecting compressed air or water into the sealed section. A gauge is attached to monitor the internal pressure. If the gauge drops, the line is compromised. While professionals often perform this task, knowledgeable homeowners can rent the necessary equipment to conduct their own assessments.
Effective Repair Strategies for Minor Plumbing Breaches
Once the precise location of the failure has been identified, you can proceed with the appropriate repair strategy. The method you choose will depend heavily on the location and severity of the damage.
Applying Epoxy Putty for Accessible Surface Cracks
For minor hairline fractures located on exposed PVC piping above the ground, two-part epoxy putty provides a durable and immediate solution. First, the system must be turned off and the affected pipe completely dried. The area surrounding the fracture must be roughened with coarse sandpaper to ensure a strong mechanical bond. Knead the two parts of the epoxy together until they form a uniform color, then press the mixture firmly into and around the crack. The putty will cure into a rock-hard seal within a few hours, effectively stopping the moisture from escaping and restoring the integrity of the pipe.
Using Liquid Sealants for Hidden Micro-Leaks
If the pressure test indicates a tiny breach in an underground line, but the exact location is impossible to access without destroying the deck, liquid sealants offer a viable alternative. These specialized chemical additives are poured directly into the water and circulated through the system. As the fluid escapes through the microscopic fracture, the sealant interacts with the air and soil, coagulating and hardening to form a permanent seal from the inside out. This method is only effective for extremely small breaches but can save significant excavation costs.
Replacing Sections of Damaged PVC Piping
When a pipe has sustained significant damage, a large crack, or a failed joint, patching is no longer a safe or viable option. The only permanent solution is to cut out the compromised section entirely. Using a pipe cutter or hacksaw, remove the damaged area, ensuring the cuts are perfectly straight. Measure and cut a replacement piece of schedule forty PVC pipe. Use appropriate couplings to join the new section to the existing lines. It is imperative to apply a high-quality PVC primer followed by PVC cement to create a chemical weld that will withstand the operational pressure of the circulation system.
Preventative Measures to Protect Your Circulation System
The best repair is the one you never have to make. Protecting your equipment from the elements is crucial. If you live in a region that experiences freezing temperatures, thorough winterization is mandatory. Expanding ice will effortlessly shatter PVC pipes and equipment housings. Ensure all lines are blown out with an air compressor and plugged securely. Additionally, check all exposed pipes to ensure they are properly supported. Sagging pipes place excessive stress on joints and fittings, eventually causing them to fail. Routine visual inspections of all connections can catch minor drips before they evolve into major ruptures.
Conclusion
Maintaining a watertight circulation system is fundamental to the longevity and efficiency of your entire swimming setup. Micro-leaks may seem inconsequential at first glance, but their cumulative effects on water consumption, chemical balance, and structural stability are profound.
By familiarizing yourself with the early warning signs and mastering diagnostic techniques like the bucket and dye tests, you can identify hidden vulnerabilities before they escalate into costly disasters. Whether you are applying epoxy to a surface crack or completely replacing a section of PVC, prompt and effective repairs will ensure your system operates flawlessly for many seasons to come.
